Month: October 2016

Compound Bindings

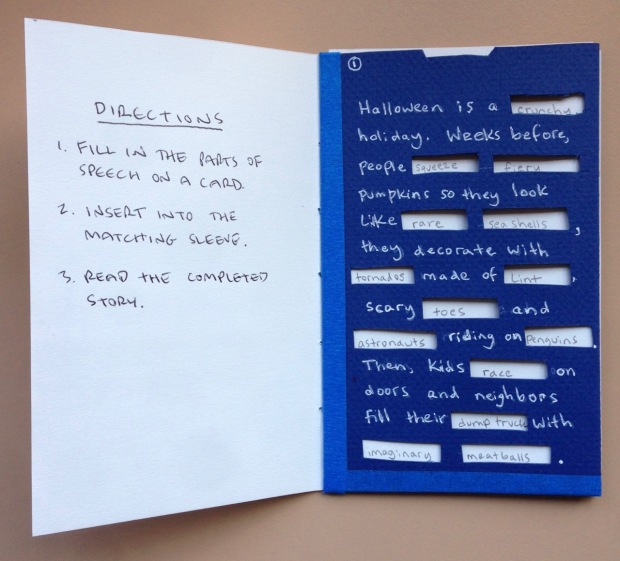
By “compound bindings,” I mean books that contain two or more smaller books (or folios) inside them, or that have covers that are more complex than just a front and a back. I could probably spend another week on this topic, because there are several variations I didn’t get to play with.

CompoundCatDogFront

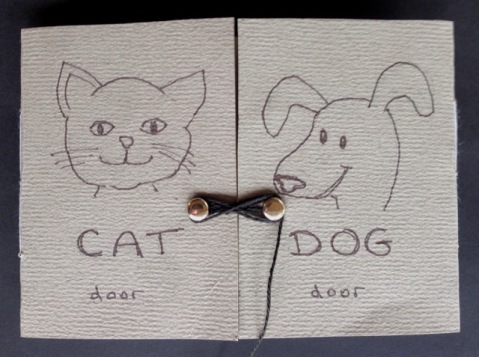
First, here’s my take on a gate fold or “French doors” binding. It’s two books that open from the center and lay out side by side. I thought it would be fun to have the two folios compare and contrast each other, so I decided to fill it with facts about cats and dogs. Without the silver brad clasps, the two sides spring open a bit, but I think it adds a nice doorknob look, and cat doors and dog doors are a thing, so it works.

CompoundCatDogP1

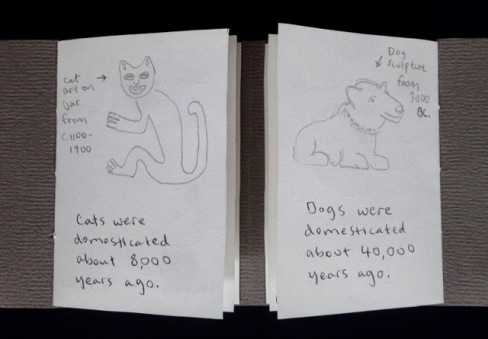
On the inside, I talk about various aspects of our domesticated friends. The spread after this one talks about their hearing and sense of smell, and so forth.

The book was simple to put together. You could whip one up even more quickly by using staples as the binding (I sewed a simple 3-hole pamphlet stitch). Variations would include opening the doors top to bottom, having a different shape for the book, folding one folio up and the other down, etc.

CompoundClub

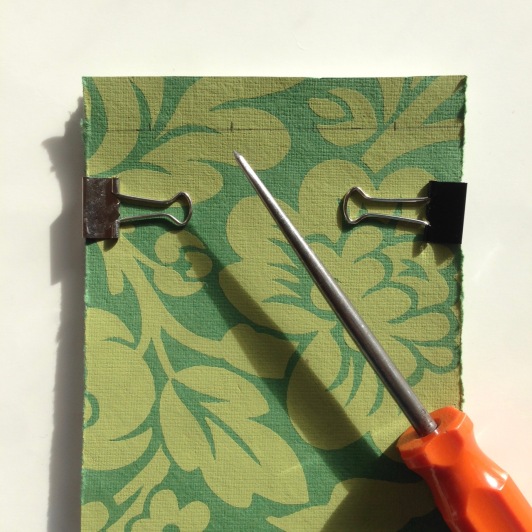
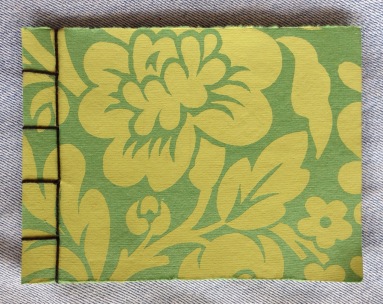
The book above is also two books in one, but the third cover is in the middle. These are sometimes called “dos a dos” bindings. The structure reminded me of a club sandwich, so I wrote a story with an embarrassing number of groaner puns, and shaped the book like a sandwich.

Here’s the text for the first few pages (each new page is indicated by a |):

It was no gouda | for Patty | and Jack. | She called him ‘Turkey’ (in jest) | He was too Chicken to joke back | They were Oil and Vinegar. | Then a Swiss friend | who had some Bread said, “Let’s turn this around!”

At this point, you turn the book around and read the second half, which begins with the spread shown below:

CompoundClubLettuce

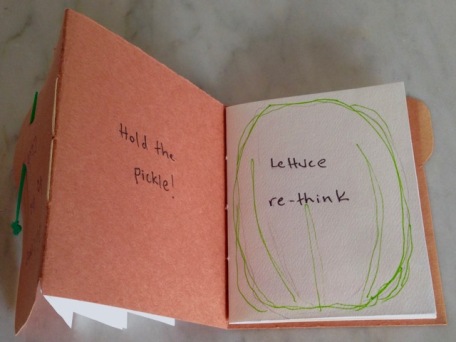
Goofy, I know, but fun. At the end, of course, they like each other and they’re “on a Roll.”

The last book I made this week has four separately bound folios:

CompoundSensesCover

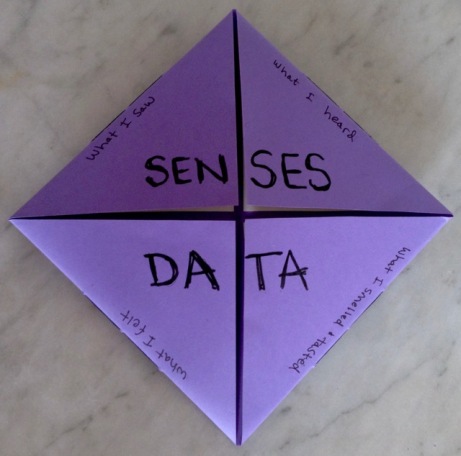
The idea for the content is from cartoonist Lynda Barry, who is one of my creative heroes. In one of her books, Syllabus, I think, she recommends keeping short lists of what you did, saw, and heard each day, and then drawing something from the day in a fourth quadrant. I decided to make a book to record just the senses . I combined smell and taste in one section. In keeping with the pun theme for the week, I called the book “Senses Data.”

It opens out into a bigger square, with four pleasing little squares to write on.

CompoundSensesOpen2

These are the pages from yesterday. It’s a fun way to keep a journal, and really makes you remember the day differently, having to focus on taste or smells, and then sounds, etc.

That’s all for this week. Enjoy the last of October!

Loose Sheet Bindings

I started this week with the desire to make a flip book. You know, the kind you hold in one hand and flip through with your thumb, so it looks like the pictures are moving?

GoatPages

It actually took a fair bit of work, but I wanted to prove that I could make a flip book from a video. I had a short movie of some baby goats playing around their mother. Turns out, you can capture individual shots from a video and save them as pictures. So I reduced a 1.5 minute movie into 54 pictures. Then I cut and pasted them to 54 flip book pages. I found it was best to have the action happening toward the bottom end of the page (or wherever your flipping thumb will be).

FlipProgress

To make the pages, use stiff paper. The simplest way to bind these is to cut a notch an equal distance from the top of each sheet, on both sides. The photo above shows a second book in progress. The sheets were already perforated to size. When you’re done, stack all the pages and then loop some string or a rubber band around the stack, at the notches. That’s it!

The books came out well and, aside for isolating the pictures, it’s a quick project.

JapaneseVertical

For the next book, I’d been wanting to try a Japanese sewn binding, and it turned out to be faster than I thought. There are good instructions on Design Sponge here. I’ve got a pile of vellum sitting around, so I stacked some sheets of that behind the green fabric-like paper and poked four evenly spaced holes through everything with an awl. Then I followed the stitching pattern from the link.

JapaneseDone

Here’s the finished book. The stitches look great (I tucked the knot inside the book–the instructions have you leave it on the outside).

I decided to draw famous faces on the inside, with only parts of the face copied on each sheet of vellum, so that if four sheets are stacked you see the whole portrait. Here’s one four-page block, split in two:

VellumPrince

You can probably tell who it is, but I’ll put the answer at the end of the post anyway.

I made one more book with stacked loose pages. To bind it, I used the pamphlet stitch pattern from a few weeks ago, but sewed from front to back rather than through the folded spine. Since I had exactly 16 sheets, or 32 pages, I thought it was a good-sized book to keep a one-month record of something (exercise, diet or gratitude would also work). I chose daily laughter, because it seems like a good thing to be aware of.

DailyLaugh

Maybe I’ll start filling it in November. Or now for that matter. We could all use more laughs this election season in the U.S.

That’s all for this week.

P.S. The face on the vellum spread is Prince.

Books that Twist and Slide

This week is about pop-up books that don’t pop up. I love elements that slide and turn, so I’m going to look at three of those today.

NotPopMadLib

Here’s a way to make a reusable Mad Lib game. I loved these as a kid and continued to make my own for my own family. To start, I made a super-short book of just two pages. I used painter’s tape as a quick and dirty way to seal up two of the edges (the outer edge is the fold). Then I pamphlet stitched a cover through them. You can make just one or a whole book-full.

Now the fun part: Create a short tale or describe something simple, and take a bunch of the key words out, replacing them with blanks. Write the story on your page and, using an x-acto knife, cut out long rectangles for all the eliminated words. Then cut a heavier sheet of paper to fit in the pocket, and draw underlines to mark every cut-out window. Taking the sheet out, label all the underlines with the part of speech that’s needed. Now it’s ready to use! Follow the directions I wrote on the inner cover, and with additional blank insert pages, you can play over and over again. This book could house four interactive stories.

NotPopVolvelle

Shh! This next one is a gift for my husband, who’s turning 50 next week. I’m excited about how well it came out. Although this isn’t technically a book, a rotating disk can be used as part of, or the basis of, a book.

Here’s how to make one: Use a compass to draw two circles, in this case one slightly larger than the other. I cut two bulbous tabs on them as my “starting” point, but you don’t have to. Fasten them together in the center with a round-head fastener. Now you’re ready to fill in the content.

Around the edge, I wrote every year from 1966 to 2016 (which I guess is 51, but who’s counting?). I cut a hole in the bulby part to reveal the year. I figured out (by trying with a couple of test circles) that cuttiNotPopVolvelleInfo
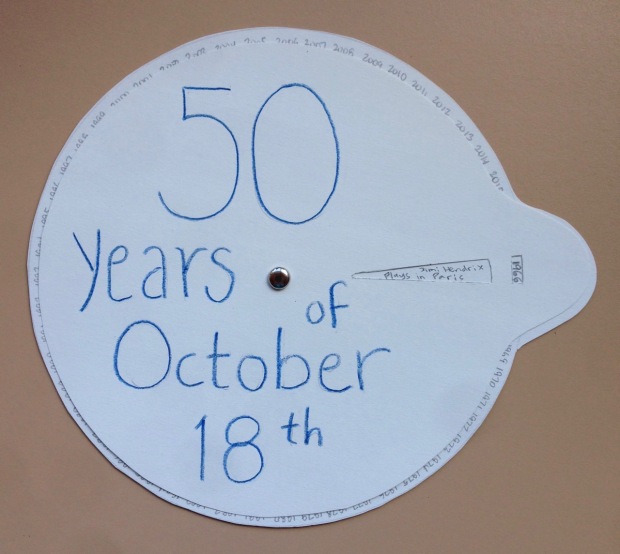
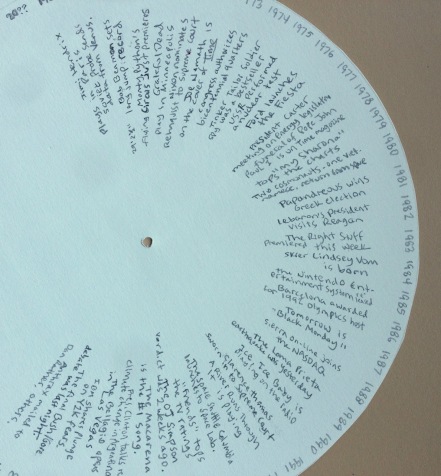
ng a wedge the width of the year, tapering down toward the center of the circle, creates the biggest opening in which to write something.

I’m having fun looking up events, cultural, political and biographical, from October 18th of each year, and writing a short factoid for each one. A few notable dates popped up: the Loma Prieta earthquake was on October 17 of 1989 and “Black Monday” was October 19, 1987.

As you can see from the inside circle, this format is useful for displaying a ton of information efficiently. I’ve saved a couple from my youth: a star chart and one for “metrics made easy.” If you look up “information wheel” or “volvelle” online, you’ll find lots of fun examples.

You can use pictures instead of words, of course. Two years ago, when I was making paper holiday projects, I made this double-sided card:

diskcactus

There’s a rotating disk hidden inside the page, and the cactus on the plate can be switched out for about seven other odd items.

NoPopNatlMammal

This last one also isn’t a complete book (I can’t manage three full-on books per week), but it’s a handy proof of concept that could be a book. Again, I made a pocket, and cut a thick piece of paper with a tab on it to slide into the side of the page. Then I found an interesting picture of the right size, and an interesting fact about that picture. I cut stripes out of the page, using lined paper as a guide. I glued the photo on the insert and then blackened in the stripes that showed, and wrote the question at the top of the page. Can you guess the answer without looking below?

NotPopBison

When you slide the insert one bar-length in or out, the unblackened stripes show enough of the picture to understand what it is. Just to be sure, I wrote it out as well. You can see how you could fill a book with similar pages.

That’s it for this week. Cheers!

Single-Point Bindings

This week I made several books that are bound with a single post, pin or ring binding. These structures can make compact, thick books. They also work well for two-sided uses like flash cards, and you can easily add or subtract pages or rearrange them.

1PtRing

I made this first one with index cards, cut to a 3″ x 2″ rectangle. When I had a tall enough stack, I punched a hole in the middle of each card, about a quarter inch from the edge. All you have to do to bind it is thread a ring binder through the holes and snap it shut. I found a package of 10 “book rings” for $2. You can add covers in a different color if you want. A rubber band will keep the pages from splaying out. You can also make two longer covers and cut notches as seen above, or cut them like the closures on the top of cereal boxes. I have a similar book that I used to draw one small portrait in each day.

1PtBirdsRaw

This next book turned out to be one of my favorites so far. I cut 24 pieces of thick black craft paper into thirds vertically, then rounded the edges, giving me 72 pages. Then I punched holes a half inch from one corner of each rectangle. The fastener is called a binding screw, and I bought one 3/4 inches tall from the hardware store for 45 cents. It fit nicely through all the holes, and they rotate freely without scraping.

1PtBirdBest

I made the book last weekend and started drawing a daily bird. The white on black looks nice and, I didn’t expect this, but when it’s fanned out, it looks like a wing! So far, I’m drawing birds that I see every day, which is fun, and makes it sort of like a diary. I’m sure it will be challenging soon, though, after I’ve seen all the more common birds.

It occurred to me I could make a book that fans out one way, and then when the fan is reversed, you could see different parts of the pages. I tried a few combinations of page shapes and hole punch locations and came up with this design using business cards:

1PtCoffeeGd

To bind it, I used a “round head fastener,” which is one of those pins with two legs on it that you split and flatten on the back side of the pages.

I wanted to showcase two aspects of something, so I used some plusses and minuses of coffee. Fanned out “to the left,” it looks like the picture above. “To the right,” you see the image below:

1PtCoffeeBd

There are little triangles that appear in both arrangements, so I drew various coffee cups and mugs on those. If you used cards that were blank on the back, you could put another dichotomy on the other side. I would have written about wine on the flip side, but there’s writing on the back of these cards.

That’s all for this week. Next week, I will also use at least one round-head fastener… stay tuned.